Adding a new Article
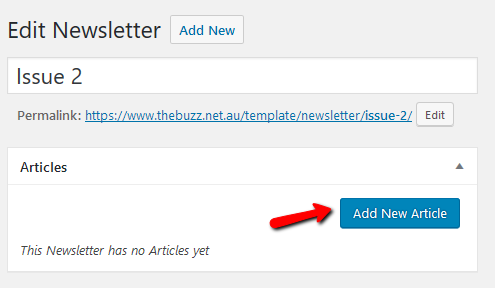
Method 1
The recommended way to create a new article is via the newsletter edit screen. Edit the issue you wish to create content for and click the “Add Article” button in the articles list.
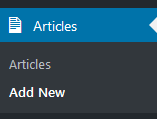
Method 2
Alternately you can select “Add New” from the articles section in the WordPress menu.
For most people this will be functionally the same thing. If, however, you are creating multiple issues at once then the distinction may be important, since you’ll need control which article is assigned to which issue.
Entering Content
Add your title and content into the appropriate boxes.

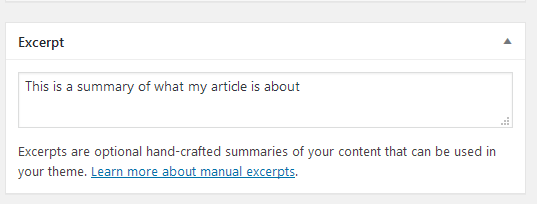
Setting an excerpt
Under the content box, you can optionally provide a hand-crafted excerpt (summary) of the article content.
Your theme will try to automatically generate an excerpt from the main content. Most of the time this is fine, however depending on how the content is structured the result may not be what you’re after.
For example if your article contains a list of names and phone numbers at the start, then the excerpt will reflect that, which won’t give a reader any clue what it’s about. In that instance you’d do better to provide a summary along the lines of “this article contains a list of important contact information”.
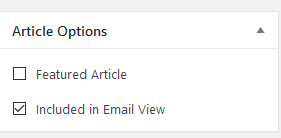
Article Options
On the right hand side you’ll see the Article Options box. These determine where and how the article shows in the newsletter. The exact implementation is theme-specific but in general a featured article is highlighted in some way and is displayed prominently on the index page.
You can also determine whether the article should show in the email view (if you are sending newsletters by email). By default ALL articles will appear in the email view, however some authors like to send a few key articles by email and direct users to read the full issue online.
Simply tick the boxes according to your requirements.
Sorting into Categories
If the Taxonomies Add on is enabled, you are able to group articles into categories. See Article Categories and Tags for more detail.
Adding a Featured Image
You may optionally specify a featured image for your article. The way this is used is theme-specific, however commonly this will be used as a thumbnail to help identify the article on the index page, and display as a larger “hero image” at the top of the article itself.
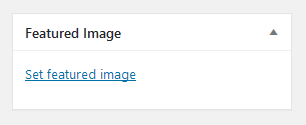
Having trouble with featured images not fitting? Read our guide for help with Fixing badly cropped featured images and thumbnails
Publish your article
When you’re finished, click publish to save your changes. Note that publishing individual articles won’t affect the site display until the parent newsletter issue is published.
You can, of course, use the draft system here as well if you wish.
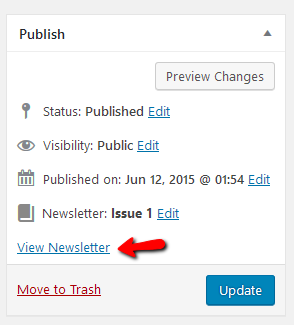
Return to the Newsletter View
Once you’re done you can return to the newsletter edit screen to add some more articles or to do some fine tuning of options, or change the order of your articles, or just preview it to see how everything is taking shape.
Click on the “View Newsletter” link in the publish box to return to the edit screen for the current issue.