Changing The Article Order
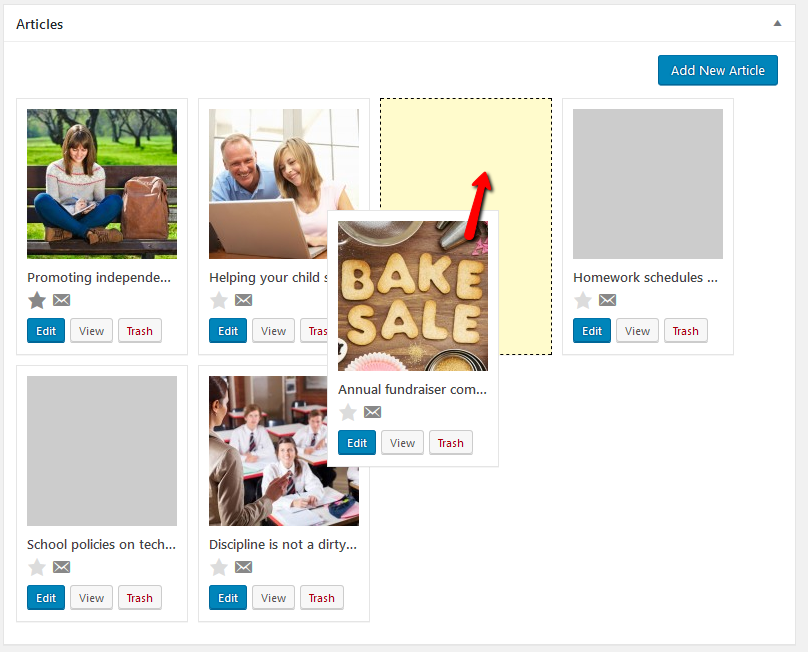
Once you’ve added some articles, the newsletter edit screen will allow to to further control the display and ordering of your articles.
By default, articles will appear in the order in which they were created. To change this, simply drag and drop articles to shuffle them around into your preferred arrangement.
Quick Options
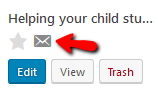
You can quickly change the display status of each article by clicking the “quick options” icons.
These options correspond to the options checkboxes on the article edit view.
- Toggling the envelope will cause the article to be displayed (or not) on the email view.
- The star toggles the article’s “featured” status.
Featured Image
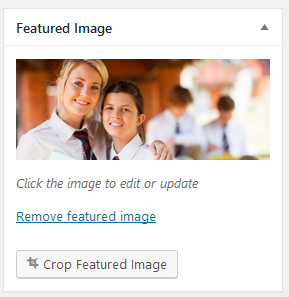
You may specify a featured image for the issue, which will display according to the theme’s configuration. It will also show as a thumbnail in the newsletter issue archive.
We definitely recommend including one, as it helps tie everything together.
If you’ve already added a featured image and wish to replace it, click the “remove featured image” link and you’ll be able to add another.
Use the “crop featured image” button to adjust the automatic sizing for the featured image. This is useful if you’re having trouble with people’s heads being cropped out or if you wish to include only part of a high resolution image.
Publish
Preview your issue using the preview changes button in the publish box. When you’re ready to go just click Publish to make it live!