Adding a new newsletter issue
A newsletter is a container for your articles. It provides the ability to group articles together into “issues”, like a magazine.
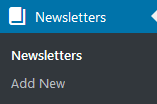
To create a new Newsletter, login to the WordPress dashboard and click Newsletters on the left menu. This will take you to the newsletter list, where you can see any previous issues.
Click the “Add New” button to make a new one.
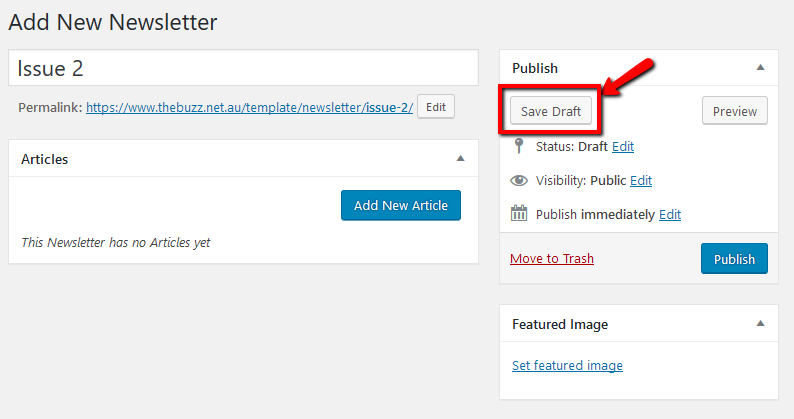
Enter the title of the new issue.This can be anything you like, for example an issue number (e.g. Issue 10) or perhaps a date (“e.g. May 2018”).
The Articles section is empty right now, but it will fill as you create them. See the post about creating articles for more on that.
You can add a featured image if you like now, or leave that until later.
Having trouble with featured images not fitting? Read our guide for help with Fixing badly cropped featured images and thumbnails
Once a newsletter is published, it will automatically replace the previous newsletter on the homepage, so the front page of your site is always the most recent issue. This means you don’t need to update links every time you create a new issue!
Add Articles
That’s it! Now it’s time to add some articles! There’s a whole separate post about that. Click here to read more.
Editing A Newsletter Issue
Once you’ve created a bunch of articles and linked them to your issue, you can do some fine tuning of options, or change the order of your articles, or just preview it to see how everything is taking shape.
Click here for more on the newsletter edit screen.
Publish
After you’ve added your articles and you’re ready to release the new issue to the world, preview your issue using the preview changes button in the publish box.
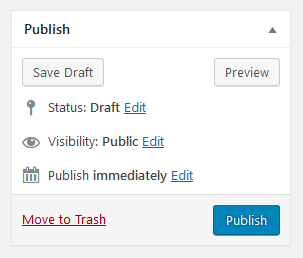 When you’re ready to go just click Publish to make it live! Your front page will be updated to show the new issue.
You can also schedule the newsletter to publish itself automatically at a later date. Just click the Edit link on the Publish field to change “immediately” to a date in the future.